| Sign In | Join Free | My carsrow.com |
|
- Home
- Products
- About Us
- Quality Control
- Contact Us
- Get Quotations
| Sign In | Join Free | My carsrow.com |
|
Brand Name : FMS
Model Number : custom-made
Certification : CO
Place of Origin : China
MOQ : 5
Price : Negotiable
Payment Terms : T/T, Western Union, MoneyGram
Supply Ability : 100PC /30days
Delivery Time : 10 work days
Packaging Details : wooden
Material : black granite
application : high precision industry
Tolerance : 00 grade
HS Code : 90179000
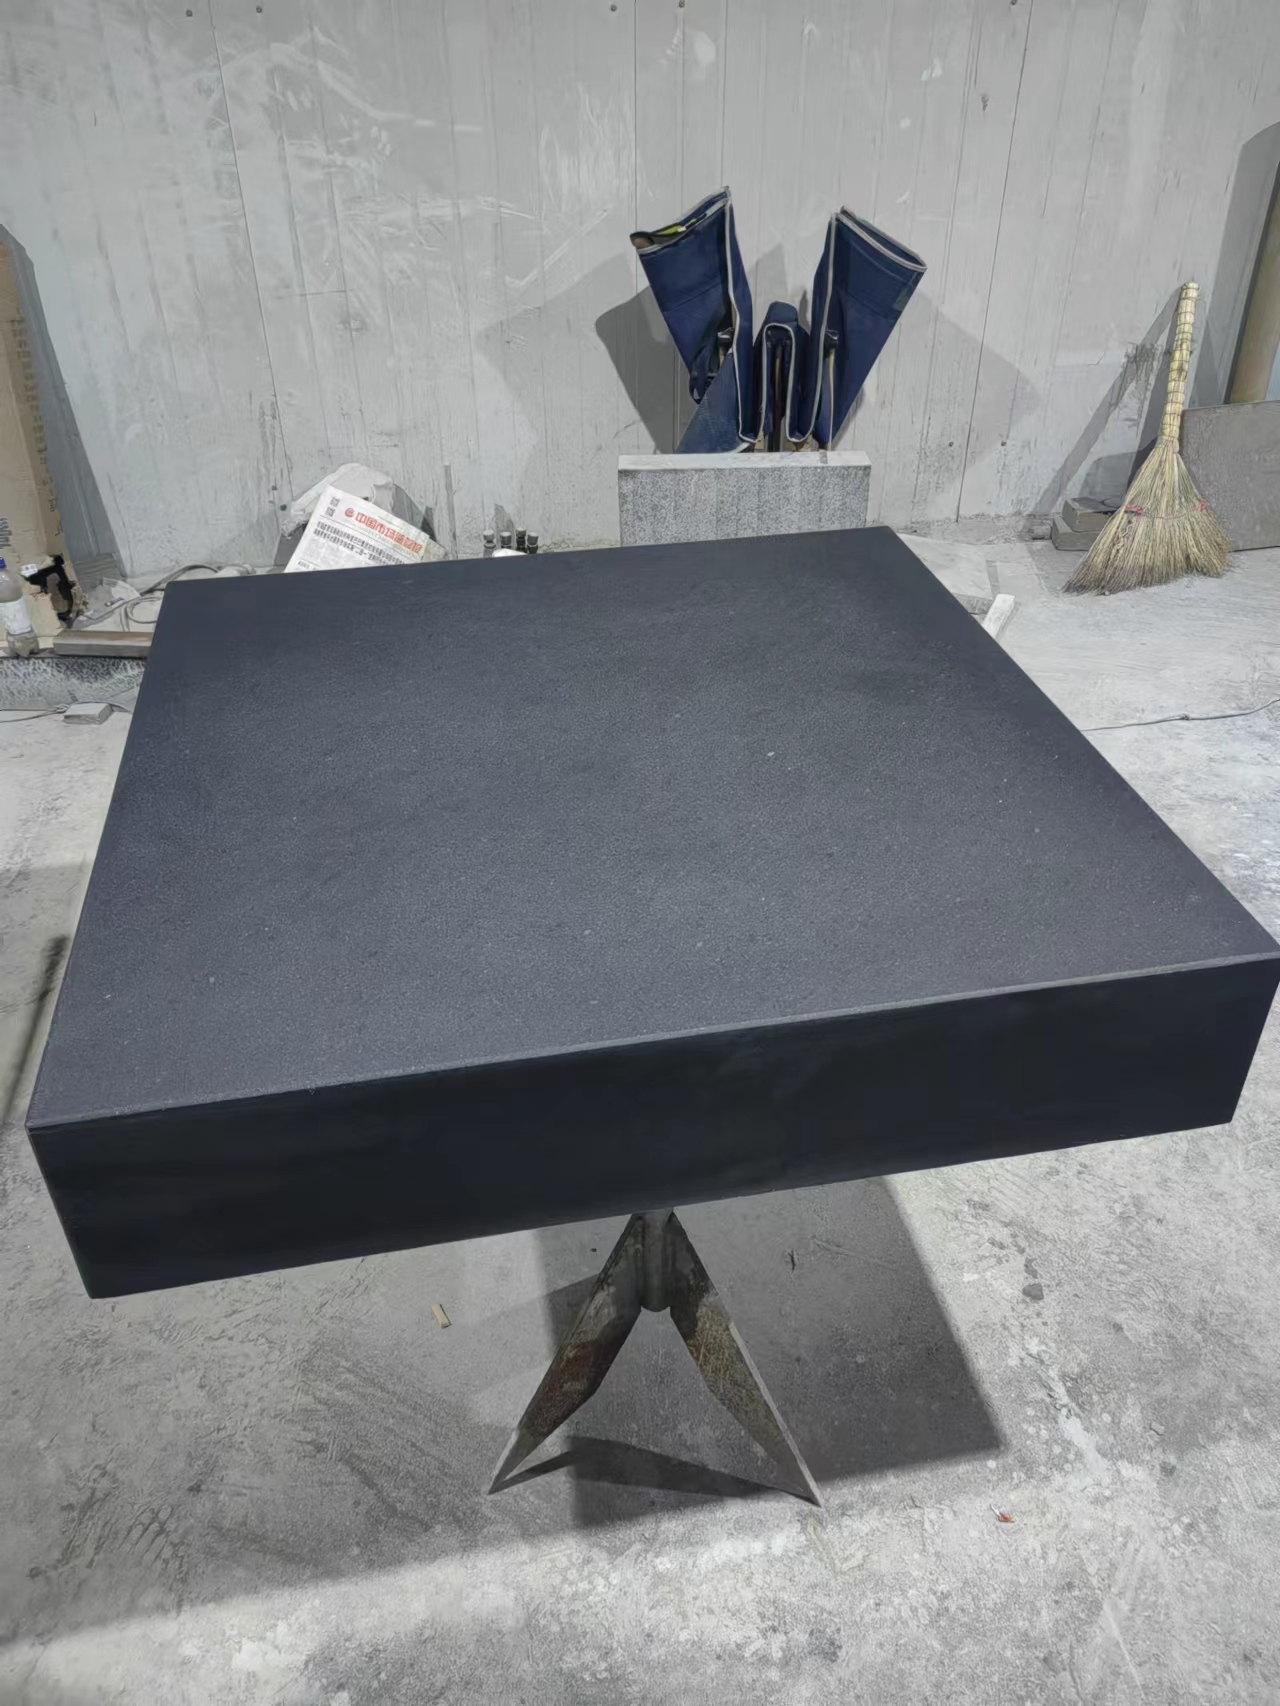
name : Black Granite Flatness Measure Table With High Precision
Measure Method : Manual
Optional accessory : stand for granite surface plate
Standard : DIN876 II
Usage : Laboratory Measuring Tool
Black Granite Flatness Measure Table With High Precision
The advantages of Black Granite Flatness Measure Table into the inspection environment have been known for some time. Cast iron and steel inspection tools are susceptible to rusting and bruising which can adversely affect the accuracy of measurements being made. Fine grained granite does not rust and has less tendency to bruise or burr. Granite is also non-magnetic and non-conductive and is less likely to be affected by change. Most importantly, the purchase and use of our Black Granite Flatness Measure Table is probably more cost effective than ever.
The Black Granite Flatness Measure Table used by our technicians is calibrated to the relevant standards to ensure the highest level of accuracy possible and also that traceability is maintained. During the calibration procedure ambient conditions are monitored and recorded.
Advantages:
• High quality material and precision machining process ensure product quality.
• A traceable QC system is worthy of your trust.
• Efficient warehouse and logistics management ensure your delivery time.
• A two-year warranty makes you without the worries behind.
Our Black Granite Flatness Measure Table refers to the advanced standards of the leading countries, and its flatness tolerance is in accordance with the JB/T 7975-1999 Surface Plate:
Grade 000 =1x(1+d/1000)/μm
Grade 00 =2x(1+d/1000)/μm
Grade 0 =4x(1+d/1000)/μm
Grade 1 =8x(1+d/1000)/μm
(d is the length of the diagonal)
| Specification | Weight (kgs) | Precision Grade (μm) | |||
| 000 | 00 | 0 | 1 | ||
| 300 × 200 × 50 | 17 | 1.5 | 3 | 6 | 12 |
| 300 × 300 × 50 | 19 | 1.5 | 3 | 6 | 12 |
| 400 × 300 × 70 | 25 | 1.5 | 3 | 6 | 12 |
| 400 × 400 × 70 | 48 | 2 | 3.5 | 6.5 | 13 |
| 630 × 400 × 100 | 76 | 2 | 3.5 | 7 | 14 |
| 630 × 630 × 100 | 155 | 2 | 4 | 8 | 16 |
| 800 × 500 × 130 | 156 | 2 | 4 | 8 | 16 |
| 1000 × 630 × 130 | 284 | 2.5 | 4.5 | 9 | 18 |
| 1000 × 750 × 150 | 338 | 2.5 | 5 | 9 | 18 |
| 1000 × 1000 × 150 | 450 | 2.5 | 5 | 10 | 20 |
| 1600 × 1000 × 200 | 963 | 3 | 6 | 12 | 24 |
| 2000 × 1000 × 200 | 1200 | 3.5 | 6.5 | 13 | 26 |
| 1600 × 1600 × 300 | 2312 | 3.5 | 6.5 | 13 | 26 |
| 2000 × 1600 × 300 | 2890 | 3.5 | 7 | 14 | 28 |
| 2500 × 1600 × 300 | 3612 | 4 | 8 | 16 | 32 |
| 3000 × 2000 × 500 | 9030 | 4.5 | 9 | 18 | 36 |
| 4000 × 2000 × 500 | 12040 | 5.5 | 11 | 22 | 44 |
| 6000 × 2000 × 700 | 25284 | 7.5 | 15 | 30 | 60 |

|
|
Black Granite Flatness Measure Table With High Precision Images |